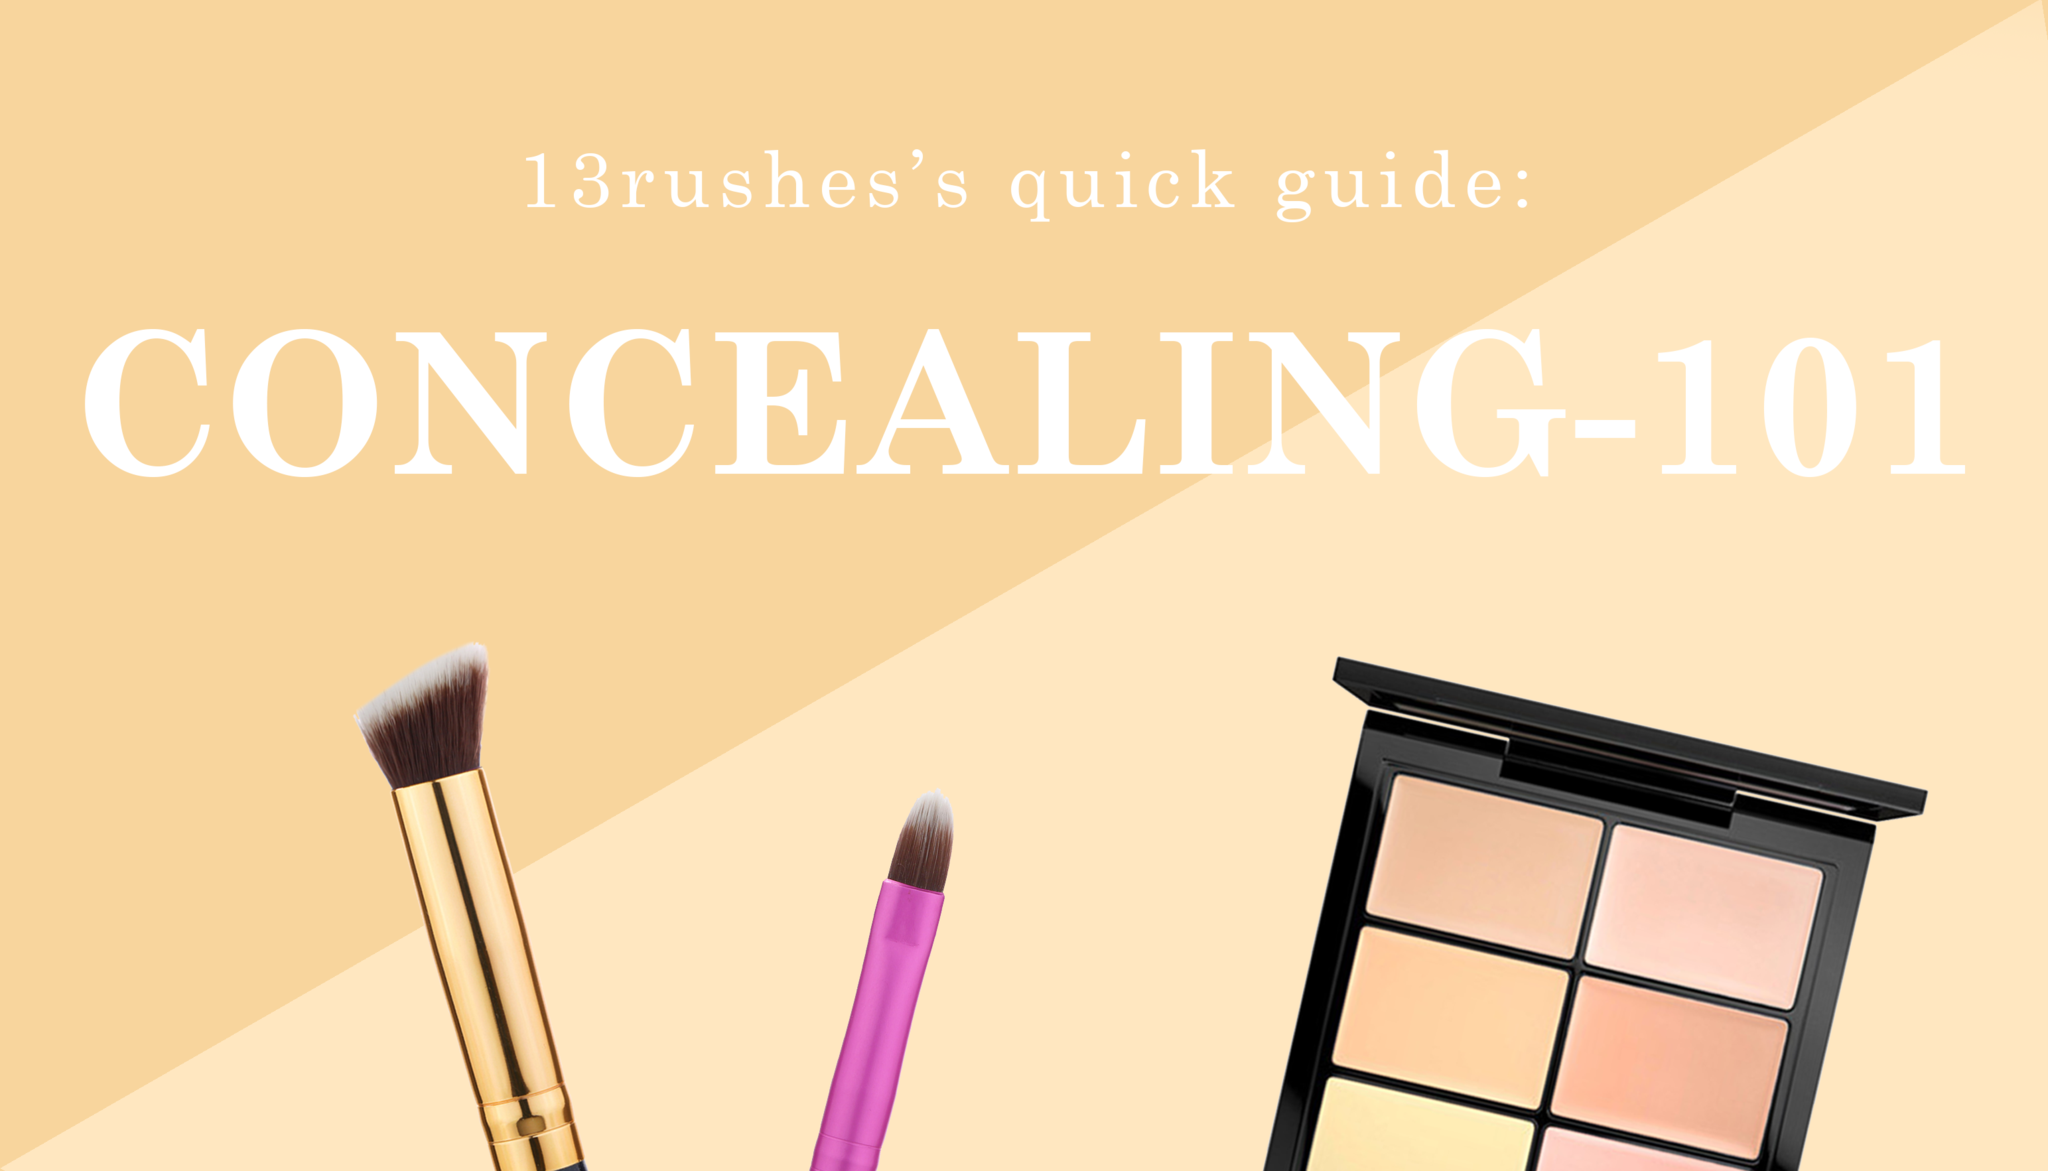
Concealing 101- Colour-correcting and concealing with brushes!
Choosing a concealer:
First, determine what you are trying to conceal.
- Is it a raised bump?
- An indent such as a scar?
- Or hollowness under the eyes?
For indented scars or deep dark circles under your eyes, (basically anything that sinks into the skin) choose a concealer that is 1-2 shades lighter than your foundation. Avoid choosing a concealer that is more than two shades lighter than your actual skin colour because it will appear grey.
To hide a raised blemish such as a pimple or a mole (that is, something that is above the normal surface of the skin), choose a concealer that matches of your foundation exactly. This will have the effect of flattening the blemish. Using a concealer lighter than your foundation on a raised blemish, will highlight the imperfection and draw more attention to it.
Any makeup that is lighter than your skin's natural shade will highlight and raise indentations in your skin. Therefore, any makeup that is darker than your skin's natural shade will have the opposite effect , flattening out any raised areas.
Lastly, we recommend getting a concealer with maximum coverage. This gives you the option of using less and you can always thin it down.
Colour-correcting with concealer:
If you've mastered the basics and would like to try something more advanced, it's time to conceal with coloured concealers.

The colours we commonly try to conceal are:
- Dark purple blue shade most common under our eyes and in the corners of our eyes
- Dark brown age spots and pigmentation
- Redness such as broken capillaries, scars. sun damage and blemishes.
The fundamentals of colour-correcting with concealers has a lot to do with understanding the basics of the colour wheel. As a rule of thumb, the complimentary colour (opposing colour) neutralizes. For instance, green neutralizes red, purple neutralizes yellow.
Dark under-eye circles:
Dark circles aren’t a universal colour. Some people have dark circles that look more purple and others more blue.
For blue dark eye circles: If you have a dark skin tone, use an orange corrector. If you have a lighter skin tone, avoid orange and opt for a peachy/salmon-toned concealer. For purple dark eye circles: Use a yellow-based concealer against purple.
Dull and sallow complexion
Sallow skin = sickly yellowish tone to your skin. We asians have greater propensity to looking yellow so purple correctors are our best friends for combatting yellow undertones and brightening skin. Use a purple primer to remove yellow tones from your entire face or use a spot concealer to hide yellow spots.
Acne, rosacea and red spots:
Green concealers are your best buddies when it comes to concealing red spots, rosacea and inflamed pimples. A little goes a long way is a good rule to follow. If you are prone to redness all over your face, find a primer or CC cream with some green in it!
Bruises and broken veins:
Some bruises are purple, some bruises are green. Similarly, use yellow correctors for purple bruises and veins. And peachy/pinkish correctors for green bruises and veins.
Choosing your brush

When concealing, synthetic brushes are the most ideal as it does not absorb any products into the brush.
This is important because you need that coverage for your skin. Try to avoid concealers that come with their own applicators. These can be hard to sterilize and disinfect. You may end up spreading bacteria from one blemish to create another
For concealing blemishes, use a tiny brush because it is more precise than a finger. Not to mention, it is also more hygienic. We recommend using our Soft Lip Perfector to accurately dab concealer onto the skin, before blending it out with our tiny Blemish Buster from our travel collection.
For concealing dark circles, or anything bigger than a zit, we recommend using the Angled Flat Concealer brush because it blends concealer into the skin like a dream. Making the concealer barely detectable.
Concealing- Step by Step
Step 1 - Taking care of your skin
Before we talk about concealing, let's first talk about removing, or at least reducing, the need to conceal at all. When applying makeup we have to deal with blemishes (often our own!) on a daily basis. So by taking care of your skin, you have a lot lesser to conceal! So remember to get into the CETM (CLEANSE, EXFOLIATE, TONE and MOISTURIZE) routine.
Step 2 - Foundation application
After you have cleansed and moisturised, it's time to apply your foundation. We always apply concealer after foundation. If you apply it before your foundation, the act of applying the foundation will remove the concealer. Also since most foundations will do the majority of the concealing for you, applying your foundation prior to concealing can help you use less concealer and apply only where necessary.
Step 3 - Concealing dark circles
How you apply concealer depends on the coverage it provides.
For medium coverage: tap the concealer at the inner and outer corners of your eyes, then buff it smooth with a clean and fluffy Angled Flat Concealer brush.
For fuller coverage: similarly, tap a corrector into the inner corners of the eyes or wherever the color is darkest. The difference is the additional step of patting a neutral concealer one shade lighter than your skin tone under the whole eye area. Avoid rubbing the concealer with your fingers as the action wipes the product to the side leaving problem area exposed. As such, always use a fluffy brush to blend out the concealer for this step. We recommend the Angled Flat Concealer brush for concealing dark circles.


Step 4 - Set the undereye concealer with powder
To make sure concealer stays exactly where you left it, lightly dusting the area with a bit of translucent setting powder. Use any small fluffy brush for this step. We recommend using a clean Angled Flat Concealer brush or Fluffy Blender for this step.
Step 5 - Concealing blemishes
For angry red zits, neutralize the obnoxious redness with a green corrector applied directly onto the blemish. A soft precise brush like the Soft Lip Perfector works best for this step. Next, apply yellow-based concealer and feather out the outer edges with the Blemish Buster to blend this concealed area with the healthy skin surrounding it. Be careful with this step to avoid covering too much of the good skin around the pimple. You don’t want to create a ‘look at my zit’ bull's-eye. The Blemish Buster is the perfect brush for the job as it is precise yet fluffy enough to blend concealers exactly where you want it.

Step 6: Set the concealer
Set your concealer with the Fluffy Blender dipped in a powder foundation that matches your skin tone (Translucent powder can make a whitehead look shiny and white). Avoid applying too much powder on top of it or excessively patting the area as the irritated zit may look worse if the makeup above it cakes up.
Dos and Don'ts:
- Choose the right hues for your skintone. The efficacy of color correctors depends on finding the right tone to match your blemish. Remember that orange is for dark skin and peach is for light skin.
- Apply thin layers! A thick layer of corrector may show through your foundation.
- Don’t use colors that you don’t need. Color correcting concealer is meant to be used only on blemishes that are strong in appearance. For smaller less noticeable blemishes, a regular concealer will do.
- Don’t brush the colors all over your face. This will undo all the hard work you’ve done by moving the pigments into the wrong areas.
- Remember that makeup should enhance your skin not hide it. So think of color correcting concealer as a fun extra step that’s to be used sparingly and don’t forget to let your natural face shine.
Leave a comment
This site is protected by hCaptcha and the hCaptcha Privacy Policy and Terms of Service apply.